Learn how to do a Back Lever with proper form, avoid common mistakes, and follow the right progressions to develop the shoulder strength, core stability, straight-arm strength, and body control required for this advanced calisthenics skill.
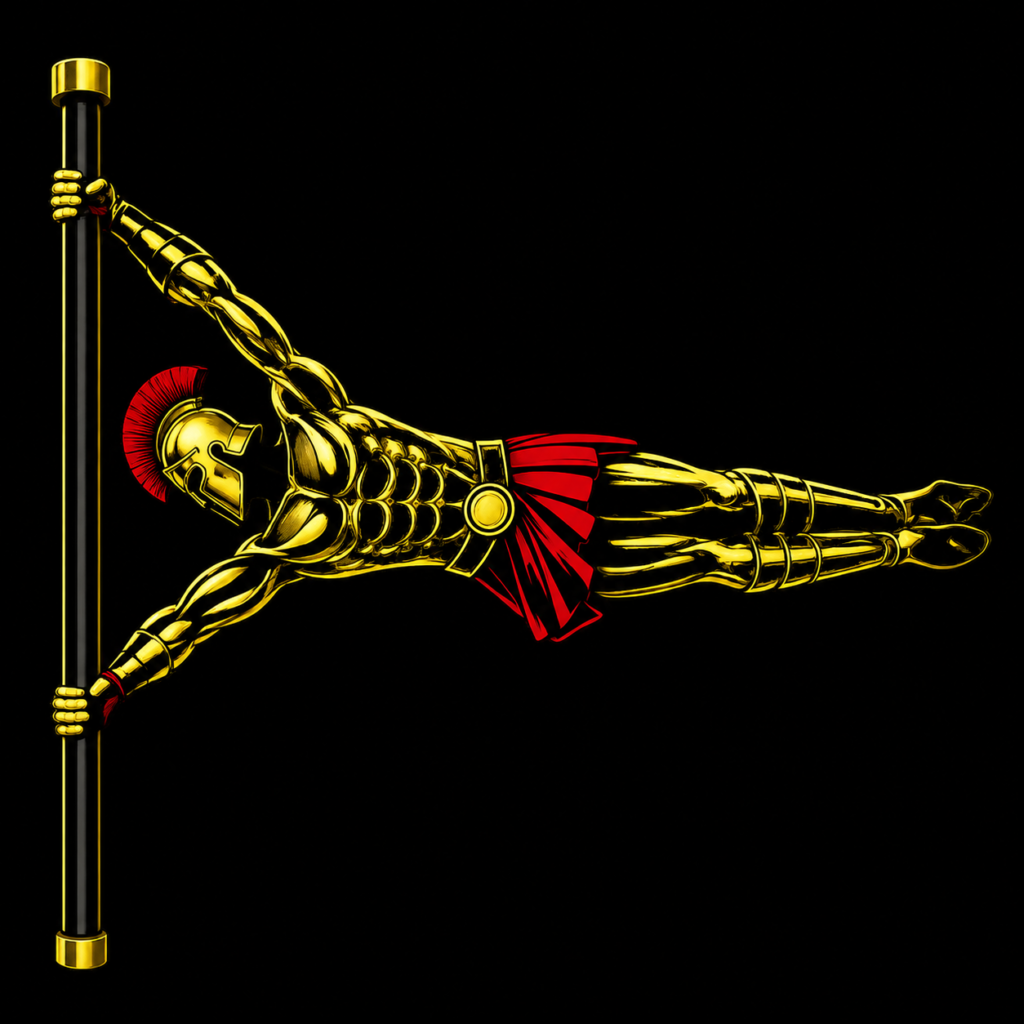
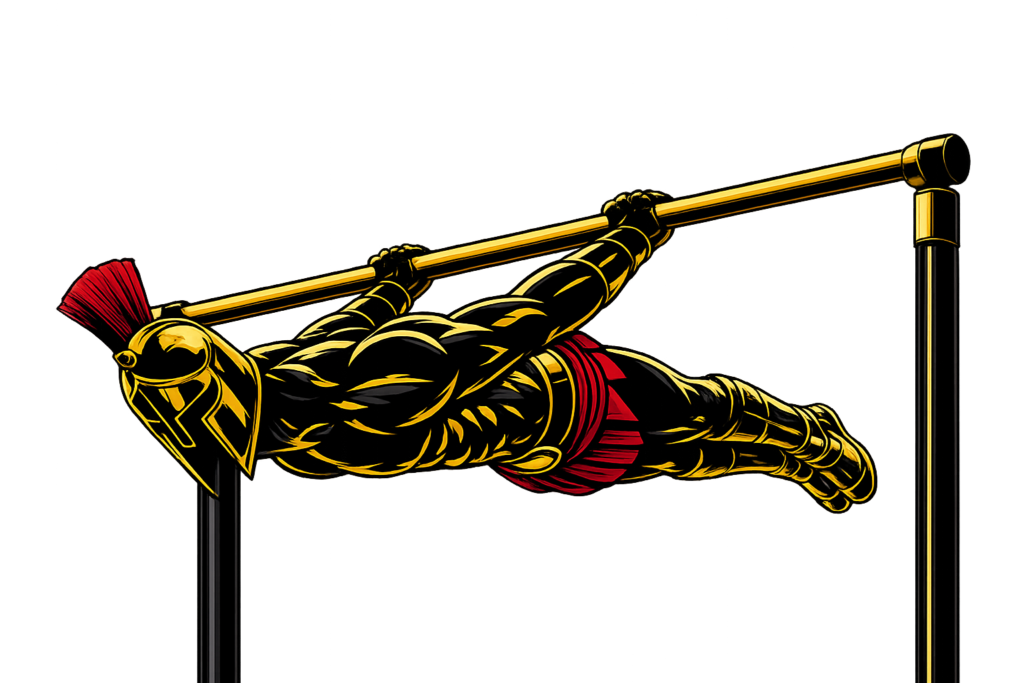
The Back Lever is an impressive static hold where you suspend your body horizontally beneath a bar or gymnastics rings while facing the floor. Your arms remain straight behind your body as your entire body forms a rigid line roughly parallel to the ground.
Although it can look simple once mastered, the Back Lever places significant demands on your shoulders, elbows, upper body, and core. Beginners should develop the necessary mobility and strength progressively instead of immediately attempting the full position.
What Is a Back Lever?
The Back Lever is an advanced static calisthenics exercise performed while hanging from a Pull-Up bar or gymnastics rings.
You move through an inverted position before lowering your body behind your arms until your torso and legs become approximately parallel to the floor.
A strong Back Lever position generally involves:
- Straight arms
- Controlled shoulders
- Tight core
- Engaged glutes
- Straight legs
- Legs together
- Body approximately parallel to the floor
Back Levers are commonly used in:
- Calisthenics
- Street workout
- Gymnastics
- Bodyweight strength training
- Static skill training
- Advanced core training
Because your arms are positioned behind your torso, the Back Lever requires substantial shoulder control and straight-arm strength in addition to a strong core.
Benefits of the Back Lever
Back Lever training provides several advanced strength and body-control benefits.
Benefits include:
- Develops straight-arm strength
- Strengthens the shoulders
- Builds upper-back strength
- Develops core stability
- Improves scapular control
- Strengthens the arms
- Develops full-body tension
- Improves body awareness
- Builds advanced calisthenics control
The progressive nature of Back Lever training allows you to develop these qualities gradually before attempting the full skill.
Muscles Worked in the Back Lever
The Back Lever is a full-body isometric exercise requiring several muscle groups to work together to maintain the horizontal position.
Primary Muscles
- Latissimus Dorsi
- Deltoids
- Pectoralis Major
- Core Muscles
Secondary Muscles
- Trapezius
- Rhomboids
- Triceps
- Biceps
- Forearms
- Glutes
- Hamstrings
Your shoulders and arms stabilize the upper body while your core, glutes, and legs maintain a rigid horizontal position.
How to Do a Back Lever (Step-by-Step)
Step 1: Grip the Bar
Grip a secure Pull-Up bar approximately shoulder-width apart with an overhand grip.
Start from a controlled Dead Hang.
Keep your:
- Grip firm
- Arms straight
- Core engaged
- Legs together
Make sure there is plenty of clear space underneath and behind you.
Step 2: Move Into an Inverted Position
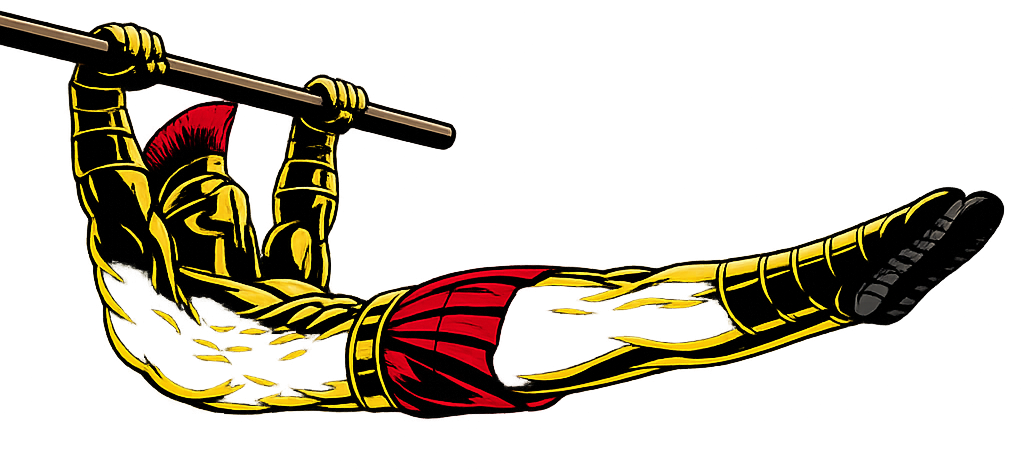
Tuck your knees toward your chest and begin rotating backward underneath the bar.
Bring your hips upward as your legs travel between your arms and toward the space behind you.
Move slowly and maintain control throughout the rotation.
Step 3: Establish the German Hang Position
Continue rotating until your arms are positioned behind your torso.
Your shoulders will move into considerable extension in this position.
Do not force yourself deeper than your current mobility allows.
Tip: Build comfort with German Hangs and easier Back Lever progressions before attempting a Full Back Lever. Stop if you experience sharp or unusual shoulder, elbow, or arm pain.
Step 4: Engage Your Shoulders and Core
Before lowering into the Lever, create full-body tension.
Keep your:
- Arms straight
- Shoulders controlled
- Core braced
- Glutes engaged
- Legs controlled
Avoid relaxing into the shoulder joints.
Step 5: Lower Into the Back Lever
From the inverted position, slowly lower your body behind your arms.
Maintain straight elbows as your hips move downward.
Continue until your body approaches a horizontal position.
Beginners should perform an appropriate tucked progression instead of extending both legs immediately.
Step 6: Hold the Position
Once you reach your chosen Back Lever progression, maintain maximum body tension.
In a Full Back Lever:
- Your arms remain straight
- Your shoulders stay controlled
- Your hips remain level
- Your knees remain straight
- Your legs stay together
- Your body remains approximately parallel to the floor
Breathe under control while maintaining the hold.
Step 7: Exit Under Control
When your form begins to break down, return toward the inverted position under control.
Tuck your legs if necessary and carefully rotate back toward a hanging position.
Avoid suddenly dropping out of the Back Lever.
Back Lever Form Checklist
Use this quick checklist to ensure proper Back Lever form.
- Grip the bar securely
- Keep your arms straight
- Maintain controlled shoulders
- Brace your core
- Squeeze your glutes
- Keep your hips from sagging
- Keep your legs together
- Straighten your knees in the full progression
- Maintain full-body tension
- Keep your body approximately parallel to the floor
- Enter and exit the position under control
- Never force your shoulder range of motion
Clean positioning is more important than holding a harder progression with poor form.
Common Back Lever Mistakes
Bending the Arms
Problem: Bending your elbows changes the exercise and reduces the straight-arm strength demands of the Back Lever.
Fix: Keep your elbows extended and use an easier progression if you cannot maintain straight arms.
Letting the Hips Sag
Problem: Dropping your hips prevents your body from forming a clean horizontal line.
Fix: Brace your abs, squeeze your glutes, and use a progression you can hold with proper alignment.
Forcing Shoulder Mobility
Problem: The Back Lever requires significant shoulder extension. Forcing yourself into a range you cannot comfortably control can place unnecessary stress on the shoulders.
Fix: Develop shoulder mobility gradually and become comfortable with controlled German Hangs before progressing.
Progressing Too Quickly
Problem: Moving directly toward the Full Back Lever before developing sufficient strength often causes bent arms, poor alignment, and uncontrolled movement.
Fix: Master easier progressions before increasing the lever length.
Losing Core Tension
Problem: Relaxing your core can cause your lower back to arch and your hips to drop.
Fix: Brace your abs and squeeze your glutes throughout the entire hold.
Dropping Out of the Position
Problem: Suddenly releasing tension can make the exit difficult to control.
Fix: End the hold before complete fatigue and return through your progression slowly.
Ignoring Elbow Discomfort
Problem: Back Lever training creates significant straight-arm loading, particularly as the progressions become harder.
Fix: Build training volume gradually and stop if you experience sharp or persistent elbow pain rather than repeatedly training through it.
Back Lever Progressions and Variations
The Back Lever should be developed gradually. Progress only when you can maintain your current variation with straight arms and good body control.
Skin the Cat
Skin the Cat helps develop familiarity with the rotation and shoulder positions used during Back Lever training.
How to Do Skin the Cat
- Hang from a secure bar or rings.
- Tuck your knees toward your chest.
- Rotate your legs between your arms.
- Lower carefully toward a German Hang.
- Reverse the movement under control.
- Return to the starting hang.
Use only a comfortable shoulder range.
Tuck Back Lever
The primary beginner Back Lever progression.
How to Do a Tuck Back Lever
- Rotate into an inverted position.
- Keep your knees tucked toward your chest.
- Maintain straight arms.
- Lower your torso toward horizontal.
- Keep your shoulders controlled.
- Hold the position under control.
The tucked position shortens the lever and significantly reduces the difficulty.
Advanced Tuck Back Lever
This progression increases the leverage by moving your knees farther away from your chest.
How to Do an Advanced Tuck Back Lever
- Begin from a Tuck Back Lever.
- Move your knees farther away from your torso.
- Maintain straight arms.
- Keep your back and hips controlled.
- Hold your torso approximately parallel to the floor.
Straddle Back Lever
The Straddle Back Lever extends both legs while keeping them spread apart to reduce the effective leverage.
How to Do a Straddle Back Lever
- Establish a controlled Back Lever position.
- Extend both legs outward.
- Spread your legs into a wide straddle.
- Keep your knees straight.
- Brace your core and glutes.
- Maintain a horizontal body position.
Gradually narrow the straddle as your strength improves.
Full Back Lever
The complete version of the skill.
How to Do a Full Back Lever
- Rotate into the Back Lever position.
- Keep your arms completely straight.
- Extend both legs behind you.
- Bring your legs together.
- Brace your core and squeeze your glutes.
- Maintain a straight horizontal body line.
- Hold the position without allowing your hips to sag.
Final Thoughts
The Back Lever is an advanced calisthenics skill that combines straight-arm strength, shoulder control, core stability, and full-body tension.
It develops:
- Straight-arm strength
- Shoulder strength
- Upper-body strength
- Core stability
- Scapular control
- Full-body tension
- Advanced body control
Don’t rush into the Full Back Lever. Build sufficient shoulder mobility, become comfortable with Skin the Cat and German Hang positions, and progressively develop your Tuck, Advanced Tuck, and Straddle Back Lever.
Your shoulders and elbows also need time to adapt to the straight-arm loading involved, so progression should be gradual rather than forced.
Master each stage with clean technique, respect your shoulder mobility, and earn the Full Back Lever one progression at a time. Learn more about Calisthenics Skills here.
Essential Gear for Back Lever
Back Lever training requires relatively little equipment, but a secure and appropriate setup is essential.
- Pull-Up Bar: Provides a stable overhead structure for practicing Back Lever progressions and holds.
- Gymnastics Rings: Excellent for Skin the Cat, German Hang, and Back Lever training while allowing the hands and rings to rotate naturally.
- Gymnastics Grips: Help improve grip security and protect your hands from blisters and calluses during long lever practice sessions, allowing you to train more comfortably.
- Resistance Bands: Can provide assistance during Back Lever progressions while you develop sufficient strength for harder variations.
- Wrist Wraps: Provide additional wrist support during advanced lever progressions, especially when training on rings or performing long static holds that place significant stress on the wrists.
- Gym Chalk: Can improve grip when your hands become sweaty during demanding Lever sessions.
Back Lever FAQ
Q1: How long does it take to learn a Back Lever?
There is no fixed timeline. Depending on your existing strength, shoulder mobility, body composition, training experience, and consistency, developing a Full Back Lever may take several months or longer.
Q2: Is the Back Lever easier than the Front Lever?
Many athletes find the Back Lever easier to achieve than the Front Lever, but this varies considerably depending on individual pulling strength, shoulder mobility, straight-arm conditioning, technique, and training background.
Q3: How long should I hold a Back Lever progression?
Beginners can aim for several clean holds of roughly 5-10 seconds using a progression they can control. End the hold when your arms bend, hips sag, or body position begins to break down.