
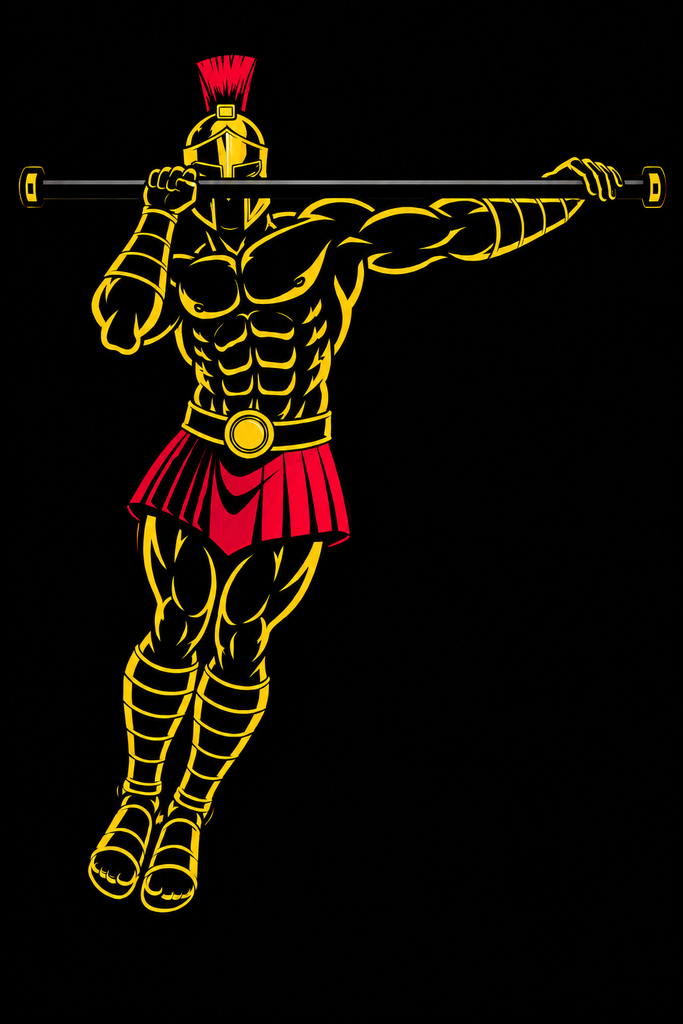
Archer Pull-Ups are an advanced Pull-Up variation that shifts most of your bodyweight toward one arm while the opposite arm extends outward along the bar. At the top, the position resembles an archer drawing a bow, which gives the exercise its name.
Unlike a standard Pull-Up, where both arms contribute relatively evenly, Archer Pull-Ups deliberately create an uneven load. The working arm performs most of the pulling while the straighter assisting arm provides support.
This makes Archer Pull-Ups useful for developing unilateral pulling strength and bridging the gap between standard Pull-Ups and advanced skills such as Assisted One-Arm and One-Arm Pull-Ups.
What Are Archer Pull-Ups?
Archer Pull-Ups are an advanced bodyweight pulling exercise performed with a wide overhand grip.
You begin hanging from a Pull-Up Bar with both arms extended. As you pull upward, you shift your torso toward one hand while bending that arm strongly. At the same time, the opposite arm gradually straightens along the bar.
At the top, your head and upper torso are positioned closer to the working hand rather than centered between both hands. The assisting arm should be relatively straight, although exactly how straight it becomes depends on your strength, mobility, proportions, and experience.
Archer Pull-Ups are commonly used in:
- Advanced calisthenics
- Unilateral pulling training
- Pull-Up workouts
- Back workouts
- Pull-day workouts
- Bodyweight strength programs
- One-Arm Pull-Up progressions
- Advanced upper-body training
Archer Pull-Ups require considerably more strength than standard Pull-Ups, so a solid foundation of controlled Pull-Ups should be developed first.
Benefits of Archer Pull-Ups
Archer Pull-Ups provide a challenging way to progress beyond bilateral Pull-Ups without immediately attempting a full One-Arm Pull-Up.
Benefits include:
- Develops unilateral pulling strength
- Strengthens the lats and upper back
- Builds the biceps and other elbow flexors
- Increases the load placed on each working arm
- Develops grip and forearm strength
- Challenges core and torso control
- Helps identify and train side-to-side strength differences
- Provides progression beyond standard Pull-Ups
- Can help prepare for One-Arm Pull-Up progressions
Because each repetition emphasizes one side, Archer Pull-Ups allow you to gradually expose each arm to a greater share of your bodyweight.
Muscles Worked in Archer Pull-Ups
Archer Pull-Ups train many of the same muscles as regular Pull-Ups, but the working side experiences substantially greater demand.
Primary Muscles
- Latissimus Dorsi
- Biceps Brachii
- Brachialis
- Teres Major
Secondary Muscles
- Trapezius
- Rhomboids
- Posterior Deltoids
- Brachioradialis
- Forearms
- Rotator Cuff Muscles
- Core Muscles
The assisting arm also remains active. It helps support and control your body even though it is straighter than the primary pulling arm.
How to Do Archer Pull-Ups (Step-by-Step)
Step 1: Take a Wide Overhand Grip
Grip a secure Pull-Up Bar with your palms facing away from you.
Position your hands wider than you would for standard Pull-Ups.
The grip should be wide enough to allow one arm to extend as you move toward the opposite side, but not so wide that you cannot comfortably control the movement.
Step 2: Establish a Controlled Hang
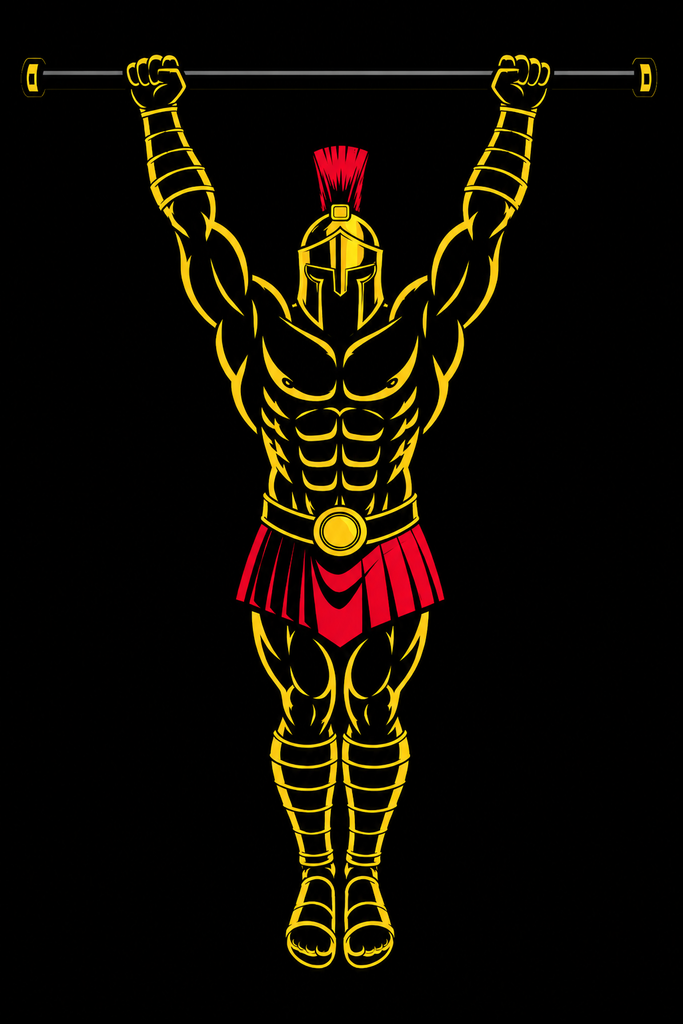
Hang underneath the bar with both arms extended.
Keep your:
- Grip secure
- Head relatively neutral
- Core braced
- Legs controlled
- Shoulders stable
Avoid beginning with excessive swinging.
Step 3: Choose the Working Side
Decide which arm will perform the majority of the pull.
For example, when pulling toward your right hand, your right arm becomes the primary working arm while your left arm gradually extends outward.
Maintain tension through both hands.
Step 4: Pull Toward the Working Hand
Begin pulling your body upward and sideways toward the working arm.
Bend the working elbow strongly while driving it downward.
At the same time, allow the opposite arm to become progressively straighter.
Your torso should travel diagonally toward the working hand rather than remaining perfectly centered beneath the bar.
Step 5: Extend the Assisting Arm
As you rise, continue straightening the assisting arm along the bar.
Do not suddenly lock it out or completely relax it.
The assisting hand should remain securely on the bar while the working arm takes a greater proportion of the load.
Step 6: Reach the Top Position
Continue pulling until your chin reaches or passes bar height near the working hand.
At the top:
- Keep the working elbow strongly bent
- Keep the assisting arm relatively straight
- Maintain a secure grip with both hands
- Keep your torso controlled
- Avoid excessive twisting
- Keep unnecessary swinging to a minimum
Your body should resemble the shape of an archer drawing a bow.
Step 7: Lower and Train the Opposite Side
Slowly reverse the movement and return toward the center as you descend.
Extend the working elbow gradually until you reach a controlled hanging position.
You can perform your planned repetitions on one side before switching or alternate sides between repetitions.
Train both sides consistently.
Archer Pull-Ups Form Checklist
Use this checklist to maintain proper Archer Pull-Up technique.
- Use a sturdy and secure Pull-Up Bar
- Use a wide but manageable overhand grip
- Begin from a controlled hang
- Keep both hands securely on the bar
- Brace your core
- Pull your torso toward the working hand
- Bend the working arm strongly
- Gradually straighten the assisting arm
- Keep tension through the assisting side
- Bring your chin toward bar height near the working hand
- Minimize excessive torso rotation
- Avoid swinging or kicking for momentum
- Lower yourself under control
- Train both sides evenly
- Stop when you can no longer maintain the Archer position
The goal is not simply to perform a wide-grip Pull-Up. Your torso should clearly shift toward one side while the opposite arm becomes relatively straight.
Common Archer Pull-Ups Mistakes
Staying in the Center
Problem: Pulling straight upward between your hands keeps the exercise similar to a Wide-Grip Pull-Up instead of shifting enough load toward one arm.
Fix: Actively pull your torso toward the working hand while allowing the opposite arm to extend.
Bending the Assisting Arm Too Much
Problem: Keeping both elbows strongly bent allows the assisting arm to contribute too much and reduces the unilateral nature of the exercise.
Fix: Gradually straighten the assisting arm as you rise while maintaining a secure grip and controlled tension.
Forcing the Assisting Arm Completely Straight
Problem: Trying to aggressively lock the assisting elbow before you have sufficient strength can disrupt your technique.
Fix: Allow the assisting arm to become progressively straighter as your strength improves. A slightly bent assisting arm is an appropriate progression.
Using Excessive Momentum
Problem: Swinging or kicking can propel your body toward the working hand without requiring the same amount of unilateral pulling strength.
Fix: Brace your torso, control your legs, and perform each repetition with minimal unnecessary momentum.
Using an Excessively Wide Grip
Problem: Placing your hands extremely far apart can make the exercise awkward and unnecessarily restrict your movement.
Fix: Use a wide grip that allows the assisting arm to extend while still giving you strong, comfortable control.
Twisting the Torso Excessively
Problem: Rotating aggressively can change the movement and allow you to compensate for insufficient pulling strength.
Fix: Some natural torso movement can occur, but keep your chest relatively controlled and focus on moving sideways toward the working hand.
Training Only the Stronger Side
Problem: Consistently favoring one arm can reinforce differences between your sides.
Fix: Train both directions and use comparable technique and training volume for each side.
Archer Pull-Ups Progressions and Variations
Archer Pull-Ups can be modified to match your current unilateral pulling strength or progress toward harder exercises.
Band-Assisted Archer Pull-Ups
A Resistance Band reduces the effective load while allowing you to practice the Archer Pull-Up movement.
How to Do Band-Assisted Archer Pull-Ups
- Secure a suitable Resistance Band to the Pull-Up Bar.
- Carefully place your foot or knee into the band.
- Take a wide overhand grip.
- Pull your torso toward one hand.
- Straighten the opposite arm as much as you can control.
- Reach your highest controlled position.
- Lower slowly and train the opposite side.
Assisted Archer Pull-Ups
This easier progression keeps more bend in the assisting arm.
How to Do Assisted Archer Pull-Ups
- Take a moderately wide overhand grip.
- Begin from a controlled hang.
- Choose your working side.
- Pull toward the working hand.
- Keep some bend in the assisting elbow.
- Reach the top under control.
- Lower slowly and repeat on the other side.
As you become stronger, gradually reduce how much the assisting arm contributes.
Alternating Archer Pull-Ups
This variation alternates the working side from repetition to repetition.
How to Do Alternating Archer Pull-Ups
- Begin from a wide overhand hang.
- Pull upward toward your right hand.
- Extend your left arm as you rise.
- Lower yourself under control.
- Pull upward toward your left hand.
- Extend your right arm as you rise.
- Continue alternating sides.
Archer Chin-Ups
This variation uses an underhand or modified underhand grip where the setup allows it, changing the arm mechanics and increasing elbow-flexor involvement.
How to Do Archer Chin-Ups
- Take a suitably wide underhand grip.
- Begin from a controlled hang.
- Choose one working side.
- Pull your torso toward that hand.
- Allow the opposite arm to straighten.
- Reach your highest controlled position.
- Lower slowly and switch sides.
Only use this variation if the grip feels comfortable for your wrists and elbows.
Typewriter Pull-Ups
Typewriter Pull-Ups connect the left and right Archer positions while you remain near the top of the movement.
How to Do Typewriter Pull-Ups
- Take a wide overhand grip.
- Pull yourself toward one hand.
- Reach a controlled Archer position.
- Stay near bar height while moving across toward the opposite hand.
- Gradually bend the new working arm as the other arm straightens.
- Reach the Archer position on the opposite side.
- Lower yourself under control.
Typewriter Pull-Ups require considerable strength because you remain near the top while transferring your weight between sides.
Final Thoughts
Archer Pull-Ups are an advanced bodyweight pulling exercise that bridges the gap between regular two-arm Pull-Ups and more demanding unilateral pulling skills.
They develop:
- Unilateral pulling strength
- Lat strength
- Upper-back strength
- Biceps strength
- Grip and forearm strength
- Core control
- Side-to-side body control
- Advanced calisthenics pulling ability
The key is to clearly shift your body toward the working arm while progressively straightening the opposite arm. If both arms remain equally bent and your torso stays centered, you are performing something closer to a Wide-Grip Pull-Up.
Master strong standard Pull-Ups first. Then gradually reduce the contribution of the assisting arm as you work toward increasingly demanding unilateral Pull-Up progressions. Learn more about Pull Workouts here.
Essential Gear for Archer Pull-Ups
Using the right equipment can make archer pull-up training safer, improve your unilateral pulling strength, and help you progress toward the one-arm pull-up.
- Pull-Up Bar: The most essential piece of equipment for performing archer pull-ups. Choose a sturdy doorway, wall-mounted, or freestanding pull-up bar with enough width to accommodate a wide grip.
- Resistance Bands: Perfect for assisted archer pull-ups, allowing you to build unilateral strength and master the movement before performing full bodyweight repetitions.
- Gymnastics Rings: Allow your hands to rotate naturally during the movement, reducing wrist strain while improving shoulder stability and control.
- Stable Step or Platform: Useful for safely reaching a high bar and entering or exiting assisted setups.
- Gym Chalk or Liquid Chalk: Improves grip by reducing moisture on your hands, helping you maintain a secure hold during demanding unilateral pulling exercises.
- Weighted Vest or Dip Belt: Ideal for advanced athletes who have mastered bodyweight archer pull-ups and want to continue increasing their pulling strength and prepare for one-arm pull-ups.
Archer Pull-Ups FAQ
Q1: Should the assisting arm be completely straight during Archer Pull-Ups?
A strong Archer Pull-Up generally uses a relatively straight assisting arm, but it does not need to be forcibly locked. Beginners to the movement can keep some elbow bend and progressively straighten the assisting arm as their strength improves.
Q2: How wide should my grip be for Archer Pull-Ups?
Use a grip wider than your standard Pull-Up grip so the assisting arm has room to extend. The exact width depends on your arm length and comfort, so avoid forcing an extremely wide position.
Q3: Do Archer Pull-Ups help with One-Arm Pull-Ups?
Yes. Archer Pull-Ups are commonly used as a progression because they increase the proportion of bodyweight handled by one arm while the other arm continues to provide assistance. More specific assisted One-Arm Pull-Up training may still be needed before achieving a full One-Arm Pull-Up.
Q4: Should I alternate sides during Archer Pull-Ups?
You can alternate sides every repetition or complete repetitions on one side before switching. Either approach can work as long as both sides receive balanced training and your technique remains consistent.
Q5: How can I make Archer Pull-Ups harder?
Gradually straighten the assisting arm more, reduce how much it contributes, improve your range of motion, use slower, controlled repetitions, progress to Typewriter Pull-Ups, or eventually move toward Assisted One-Arm Pull-Ups.