
Wall Push-Ups are a beginner-friendly Push-Up variation performed while standing and pressing against a wall. Because your body remains much more upright than during a standard floor Push-Up, your arms support a smaller portion of your bodyweight.
This makes Wall Push-Ups an excellent starting point for people who are not yet ready for Incline, Knee, or standard Push-Ups. They train the chest, shoulders, triceps, and supporting muscles while allowing you to learn the basic Push-Up movement with manageable resistance.
As your strength improves, you can make Wall Push-Ups more challenging by moving your feet farther from the wall before progressing to lower elevated surfaces.
What Are Wall Push-Ups?
Wall Push-Ups are a bodyweight pressing exercise performed with your hands against a sturdy wall rather than on the floor.
You begin standing in front of the wall with your arms extended and hands approximately shoulder-width apart. Keeping your body controlled, you bend your elbows and bring your chest toward the wall before pressing yourself back to the starting position.
The upright body angle reduces the amount of bodyweight your upper body must move compared with lower-angle Push-Up variations.
Wall Push-Ups are commonly used in:
- Beginner strength training
- At-home workouts
- Push-Up progression programs
- Chest workouts
- Upper-body workouts
- Warm-up routines
- Bodyweight training
- Calisthenics preparation
They can also help beginners practice body alignment, elbow control, and pressing mechanics before progressing toward harder Push-Up variations.
Benefits of Wall Push-Ups
Wall Push-Ups provide an accessible introduction to bodyweight pressing while still training several major upper-body muscles.
Benefits include:
- Strengthens the chest
- Develops the triceps
- Strengthens the front of the shoulders
- Introduces the Push-Up movement pattern
- Allows beginners to build pressing strength progressively
- Develops basic core and body-position control
- Places less bodyweight through the arms than floor Push-Ups
- Requires little to no equipment
- Provides an easy-to-adjust Push-Up progression
The exercise can be made easier by standing closer to the wall or harder by moving your feet farther away while maintaining proper form and secure footing.
Muscles Worked in Wall Push-Ups
Wall Push-Ups train the same general pushing muscles used during other Push-Up variations, although the upright position substantially reduces the resistance.
Primary Muscles
- Pectoralis Major
- Triceps Brachii
- Anterior Deltoids
Secondary Muscles
- Serratus Anterior
- Rotator Cuff Muscles
- Rectus Abdominis
- Obliques
- Forearms
- Other Core Stabilizers
Your core helps maintain a controlled body position while your shoulder stabilizers support the pressing movement.
How to Do Wall Push-Ups (Step-by-Step)
Step 1: Choose a Stable Wall
Use a solid wall with enough clear space for both hands.
Avoid:
- Unstable surfaces
- Slippery surfaces
- Doors that could unexpectedly open
- Fragile panels
- Areas containing objects that interfere with your movement
Make sure your shoes or feet also have secure contact with the floor.
Step 2: Position Your Hands
Face the wall and place your palms against it at approximately chest to shoulder height.
Position your hands approximately shoulder-width apart or slightly wider.
Keep your fingers comfortably spread and your hands firmly against the wall.
Step 3: Step Your Feet Back
Walk your feet backward until your body leans toward the wall with your arms extended.
The farther your feet move away from the wall, the more demanding the exercise generally becomes.
Begin with a distance that allows you to maintain complete control.
Step 4: Establish Your Starting Position
Create a relatively straight line through your head, torso, hips, and legs.
Keep your:
- Core lightly braced
- Glutes controlled
- Head relatively neutral
- Shoulders away from your ears
- Hands firmly against the wall
- Feet planted securely
Avoid bending excessively at the hips.
Step 5: Lower Toward the Wall
Bend your elbows and allow your body to move toward the wall as one controlled unit.
Let your elbows travel backward and outward at a comfortable angle rather than flaring directly sideways.
Bring your chest toward the wall while maintaining your body position.
Step 6: Reach Your Controlled Bottom Position
Lower until your chest approaches the wall or until you reach your comfortable range of motion.
Keep your:
- Core engaged
- Hips controlled
- Heels and feet stable
- Wrists comfortable
- Head neutral
Do not reach your head forward just to touch the wall.
Step 7: Press Back to the Starting Position
Push firmly through your palms and extend your elbows.
Move your entire body away from the wall rather than pushing your shoulders back while leaving your hips behind.
Return to the starting position under control and repeat.
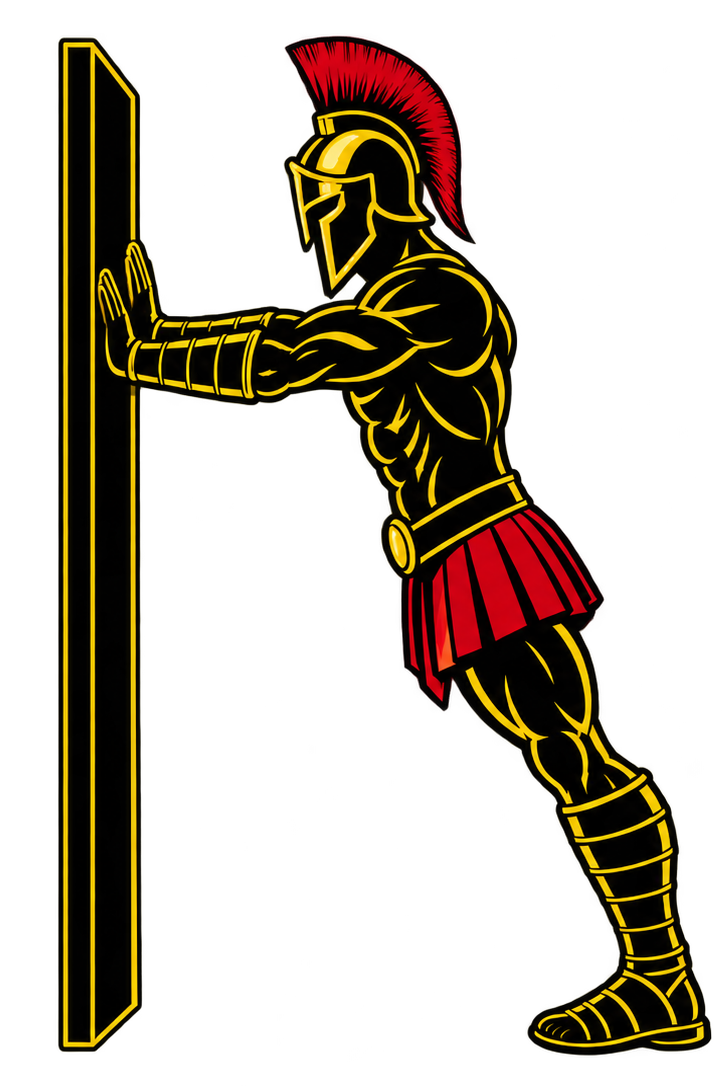
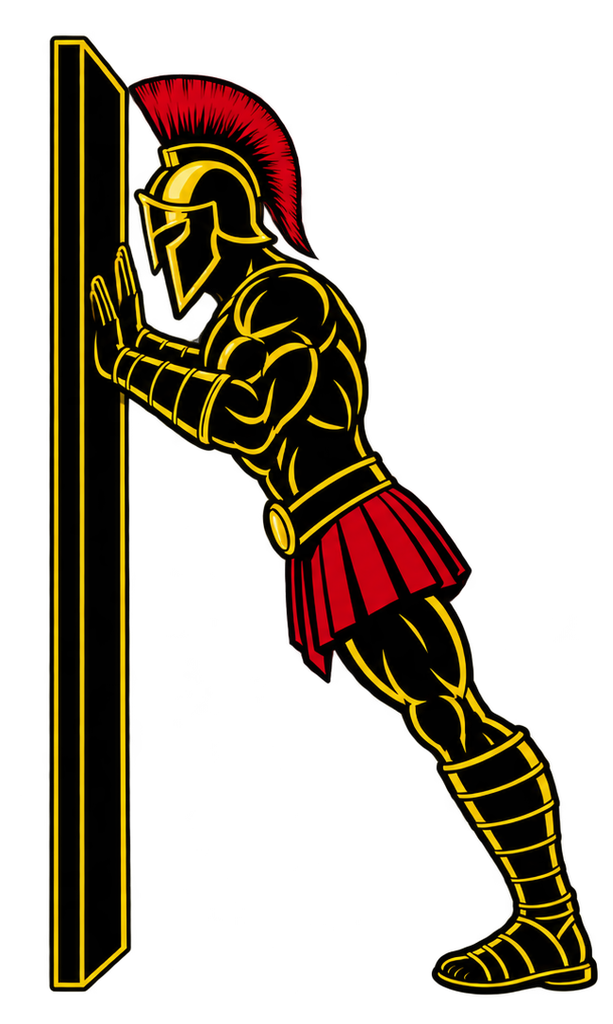
Wall Push-Up Form Checklist
Use this checklist to maintain proper Wall Push-Up technique.
- Use a solid and stable wall
- Keep your feet securely planted
- Position your hands around chest to shoulder height
- Keep your hands approximately shoulder-width or slightly wider
- Maintain a controlled body line
- Brace your core
- Keep your head relatively neutral
- Bend your elbows smoothly
- Avoid excessive elbow flare
- Lower your chest toward the wall
- Keep your hips from sagging toward the wall
- Avoid pushing your hips backward
- Press evenly through both hands
- Extend your arms under control
- Use a controlled tempo throughout each repetition
Once you can perform Wall Push-Ups easily with consistent technique, consider progressing the exercise rather than simply performing increasingly large numbers of repetitions.
Common Wall Push-Up Mistakes
Standing Too Close to the Wall
Problem: Standing very close to the wall can make the exercise so easy that there is little challenge for your pushing muscles.
Fix: Gradually move your feet farther from the wall while maintaining secure footing and proper body alignment.
Flaring the Elbows Directly Sideways
Problem: Allowing your elbows to flare excessively can create an awkward pressing position.
Fix: Allow your elbows to travel backward and outward at a comfortable angle instead of forcing them directly sideways.
Bending at the Hips
Problem: Sending your hips backward while your upper body approaches the wall reduces the amount of bodyweight your arms must control.
Fix: Keep your torso, hips, and legs moving together as one controlled unit.
Leading With the Head
Problem: Pushing your head forward can make it appear that you have reached the wall without completing the intended range of motion.
Fix: Keep your head relatively neutral and bring your chest toward the wall.
Performing Partial Repetitions
Problem: Only bending your elbows slightly limits the range through which your pushing muscles work.
Fix: Use the deepest comfortable range you can control while maintaining proper alignment.
Rushing the Repetitions
Problem: Dropping quickly toward the wall and bouncing back reduces muscular control.
Fix: Lower yourself deliberately, briefly control the bottom position, and press back smoothly.
Using an Unstable Surface
Problem: Performing Wall Push-Ups against a door or unstable object can cause the surface to move unexpectedly.
Fix: Use a solid, stationary wall that can safely support the force you apply to it.
Wall Push-Up Progressions and Variations
Wall Push-Ups can be adjusted according to your current strength and used as the beginning of a complete Push-Up progression.
Close-Grip Wall Push-Up
Bringing your hands closer together changes the pressing position and can increase the demand on the triceps.
How to Do Close-Grip Wall Push-Ups
- Stand facing a sturdy wall.
- Place your hands closer than shoulder-width apart.
- Step your feet backward into a comfortable lean.
- Brace your core and maintain a controlled body line.
- Bend your elbows and lower toward the wall.
- Press through your palms to extend your arms.
- Repeat while keeping your elbows controlled.
Wide-Grip Wall Push-Up
This variation uses a moderately wider hand position.
How to Do Wide-Grip Wall Push-Ups
- Face the wall and establish secure footing.
- Place your hands moderately wider than shoulder-width.
- Step backward until your body leans toward the wall.
- Brace your core and maintain body alignment.
- Lower your chest toward the wall.
- Avoid excessively flaring your elbows.
- Press back to the starting position under control.
Do not place your hands as wide as possible. Use a comfortable width that allows smooth shoulder movement.
Slow-Tempo Wall Push-Up
Slowing each repetition increases time under tension and helps reinforce technique.
How to Do Slow-Tempo Wall Push-Ups
- Set up in your normal Wall Push-Up position.
- Brace your core and maintain a straight body line.
- Lower yourself slowly for several seconds.
- Reach your controlled bottom position.
- Pause briefly near the wall.
- Press yourself away smoothly.
- Repeat without rushing between repetitions.
Single-Arm Assisted Wall Push-Up
This progression shifts more work toward one arm while the opposite hand continues providing assistance.
How to Do Single-Arm Assisted Wall Push-Ups
- Place both hands against the wall.
- Position one hand normally and the assisting hand farther outward or in a less advantageous position.
- Keep your feet stable and brace your core.
- Shift more of the pressing demand toward the working arm.
- Lower your body toward the wall under control.
- Press yourself back to the starting position.
- Train both sides evenly.
Avoid excessive torso rotation while using this progression.
Incline Push-Up
Incline Push-Ups are a natural next progression after Wall Push-Ups because lowering the hand position increases the amount of bodyweight supported by the upper body.
How to Do Incline Push-Ups
- Choose a sturdy elevated surface.
- Place your hands approximately shoulder-width apart.
- Walk your feet backward until your body forms a straight line.
- Brace your core and glutes.
- Lower your chest toward the elevated surface.
- Press through your hands until your arms extend.
- Gradually use lower surfaces as your strength improves.
Final Thoughts
Wall Push-Ups are a simple and effective starting point for learning the Push-Up movement pattern and developing basic upper-body pressing strength.
They develop:
- Chest strength
- Triceps strength
- Shoulder strength
- Basic core stability
- Body-position control
- Pressing technique
- Push-Up confidence
- Foundational bodyweight strength
Start at a distance from the wall that allows controlled repetitions. As the exercise becomes easier, move your feet farther away or progress to an Incline Push-Up on a sturdy elevated surface.
The long-term goal should be progressive resistance rather than simply accumulating hundreds of easy repetitions. Gradually moving from Wall Push-Ups to lower Incline Push-Ups, Knee Push-Ups when appropriate, and eventually standard Push-Ups can provide a clear progression path. Learn more about Push Workouts here.
Essential Gear for Wall Push-Ups
Wall Push-Ups require almost no equipment, making them particularly convenient for home workouts.
- Stable Wall: A solid, stationary wall with enough clear space for your hands is the primary requirement.
- Training Shoes: Shoes with reliable traction can help prevent your feet from slipping as you increase your distance from the wall.
- Exercise Mat: An optional mat can provide a defined training area and may improve comfort depending on the floor surface.
- Push-Up Handles: Help keep your wrists in a more neutral position, reducing strain and making the transition to incline and standard push-ups more comfortable.
- Wrist Wraps: Provide additional wrist support and stability during higher-volume push-up training or for individuals who experience mild wrist discomfort while performing pressing exercises.
Wall Push-Up FAQ
Q1: How many Wall Push-Ups should a beginner do?
A practical starting point is around 8–15 controlled repetitions for 2–3 sets. Adjust the number of repetitions and your distance from the wall according to your current strength and technique.
Q2: How far should I stand from the wall?
There is no single correct distance because body proportions and strength differ. Start close enough to perform controlled repetitions, then gradually move your feet farther away as the exercise becomes easier.
Q3: When should I progress from Wall Push-Ups?
When you can perform your Wall Push-Ups comfortably with consistent technique and the exercise no longer provides much challenge, progress by increasing your lean or moving to Incline Push-Ups on a stable elevated surface.
Q4: Are Wall Push-Ups easier than Knee Push-Ups?
Wall Push-Ups are generally easier because your body remains much more upright and your upper body supports a smaller proportion of your weight. The exact difficulty depends on your setup and body position.
Q5: Can Wall Push-Ups help me perform regular Push-Ups?
Yes. They can teach basic pressing mechanics and build initial chest, shoulder, and triceps strength. Progressively moving from the wall to lower elevated surfaces and eventually floor-based Push-Up variations can help you work toward standard Push-Ups.