
Push-Ups are one of the most effective bodyweight exercises for developing upper-body pushing strength. They primarily target the chest, shoulders, and triceps while requiring the core and lower body to maintain a stable position throughout the movement.
Because Push-Ups require little to no equipment, they are widely used in calisthenics, home workouts, strength training, and general fitness programs. They can also be modified to suit different strength levels, making them useful for beginners and experienced athletes.
The key to performing Push-Ups correctly is maintaining a straight body line, controlling the lowering phase, and pressing through a comfortable range of motion without allowing your hips to sag or your elbows to flare excessively.
What Are Push-Ups?
Push-Ups are a compound bodyweight pressing exercise performed from a prone-facing plank position.
You begin with your hands on the floor, arms extended, and body supported by your hands and toes. From this position, bend your elbows and lower your chest toward the floor before pressing yourself back to the starting position.
Unlike isolation exercises that focus primarily on one muscle group, Push-Ups involve several upper-body muscles working together while your core stabilizes your body.
Push-Ups are commonly used in:
- Calisthenics training
- Chest workouts
- Upper-body workouts
- At-home workouts
- Strength training programs
- Military fitness preparation
- Bodyweight training
- Muscular endurance workouts
They also provide a foundation for more advanced exercises such as Diamond Push-Ups, Archer Push-Ups, One-Arm Push-Ups, and other challenging pressing variations.
Benefits of Push-Ups
Push-Ups provide an accessible way to develop upper-body strength while training multiple muscle groups simultaneously.
Benefits include:
- Strengthens the chest
- Develops the triceps
- Strengthens the front of the shoulders
- Builds upper-body pushing strength
- Develops core stability
- Improves upper-body muscular endurance
- Reinforces full-body coordination and control
- Provides a foundation for advanced calisthenics exercises
- Requires minimal equipment
- Can be progressively modified for different strength levels
Push-Ups can support muscle growth and strength development when performed with appropriate difficulty, sufficient training volume, and progressive overload.
Muscles Worked in Push-Ups
Push-Ups primarily train the upper-body pushing muscles while requiring several other muscle groups to stabilize your body.
Primary Muscles
- Pectoralis Major
- Triceps Brachii
- Anterior Deltoids
Secondary Muscles
- Serratus Anterior
- Rotator Cuff Muscles
- Rectus Abdominis
- Obliques
- Gluteus Maximus
- Quadriceps
- Forearms
The chest, shoulders, and triceps produce most of the pressing movement, while the core and lower body help maintain a stable plank position.
How to Do Push-Ups (Step-by-Step)
Step 1: Start on Your Hands and Knees
Begin on the floor or an Exercise Mat.
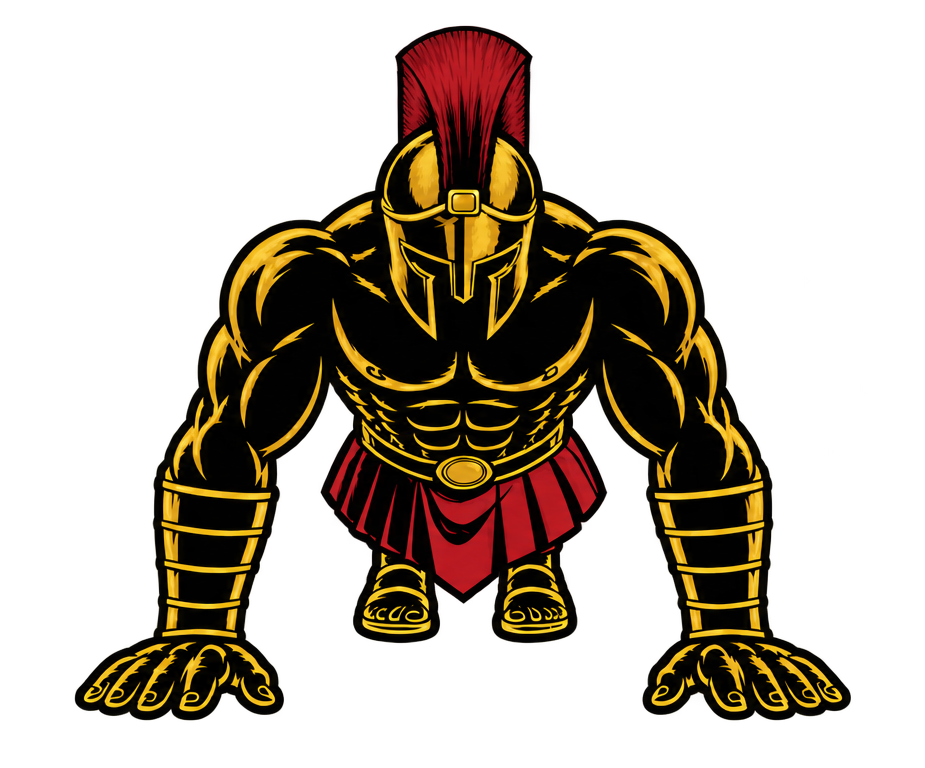
Place your hands approximately shoulder-width apart or slightly wider.
Keep your fingers comfortably spread and your palms firmly planted.
Position your hands around chest to shoulder level, allowing your shoulders to move comfortably during the exercise.
Step 2: Enter a High Plank
Extend your legs backward and support your lower body on your toes.
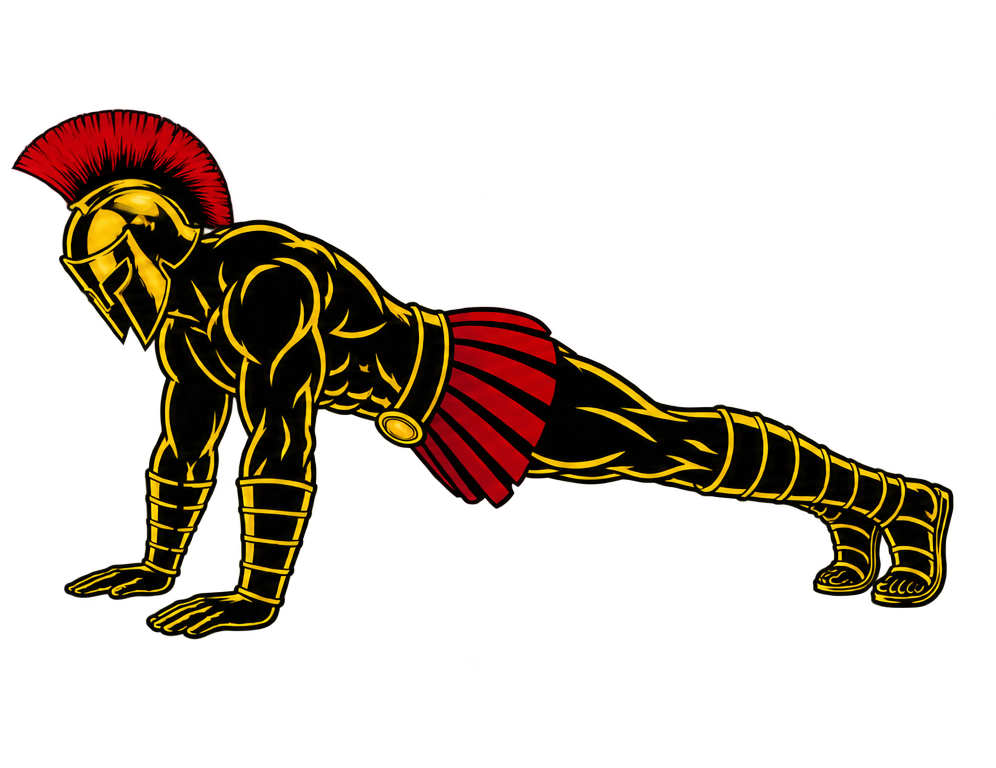
Your body should form a relatively straight line from your head through your shoulders, hips, knees, and ankles.
Keep your feet approximately hip-width apart or closer together, depending on your comfort and stability.
Step 3: Establish Your Starting Position
Extend your arms and stabilize your shoulders.
Keep your:
- Core braced
- Glutes engaged
- Legs controlled
- Head relatively neutral
- Hands firmly planted
- Shoulders stable
Avoid allowing your hips to sag or rise excessively.
Step 4: Begin Lowering Your Body
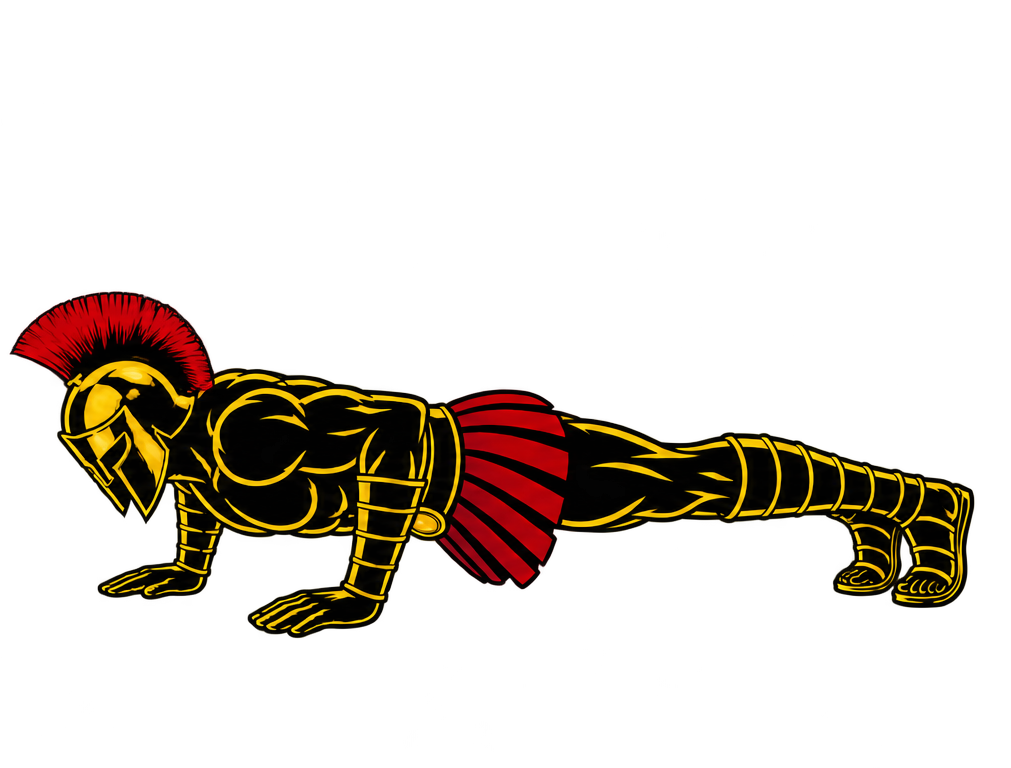
Bend your elbows and slowly lower your chest toward the floor.
Allow your elbows to travel backward and outward at a comfortable angle rather than flaring directly sideways.
Keep your shoulders, torso, and hips moving together.
Step 5: Reach the Bottom Position
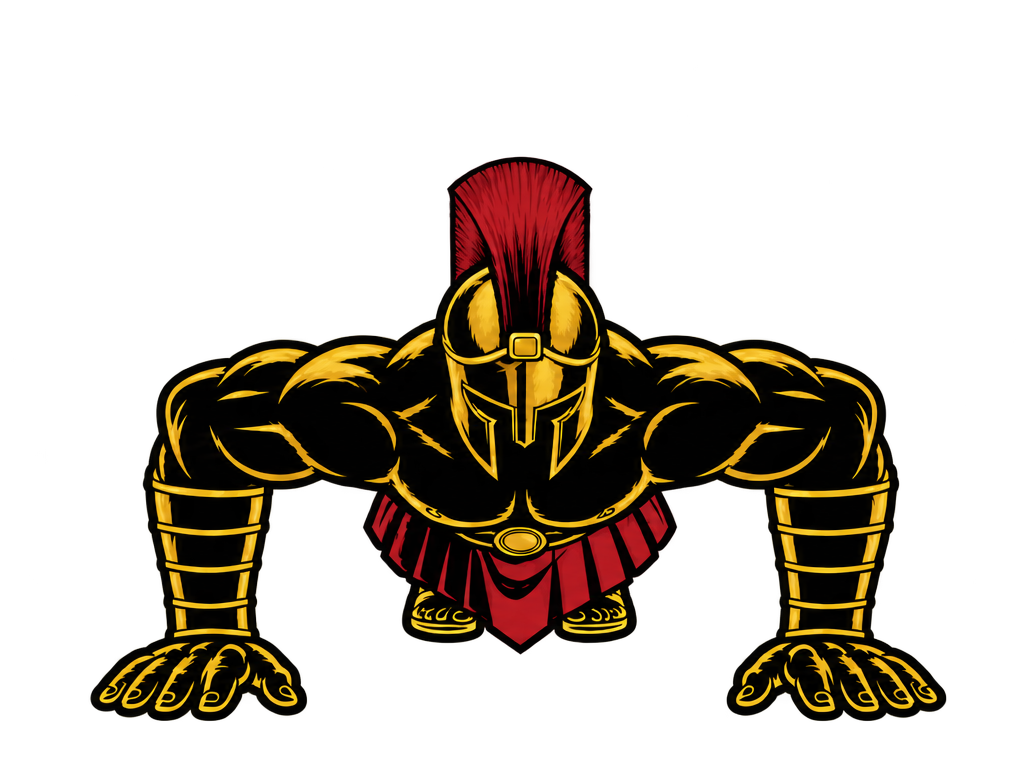
Continue lowering until your chest approaches the floor or until you reach the deepest comfortable range you can control.
Keep your:
- Core engaged
- Hips aligned
- Head neutral
- Shoulders controlled
- Feet planted
Avoid reaching your head toward the floor or excessively arching your lower back.
Step 6: Press Yourself Up
Push firmly through both palms and begin extending your elbows.
Raise your chest and hips together while maintaining your body alignment.
Continue pressing until your arms return to extension.
Avoid deliberately shrugging your shoulders toward your ears.
Step 7: Reset and Repeat
Return to a stable High Plank position.
Maintain tension through your core and glutes before beginning the next repetition.
Repeat for your planned number of repetitions while maintaining consistent technique.
Push-Ups Form Checklist
Use this checklist to maintain proper Push-Up technique.
- Place your hands approximately shoulder-width or slightly wider
- Keep your palms firmly planted
- Maintain a relatively straight body line
- Brace your core
- Engage your glutes
- Keep your head relatively neutral
- Maintain stable shoulders
- Avoid excessive elbow flare
- Lower your chest toward the floor
- Keep your hips from sagging
- Avoid raising your hips excessively
- Move your chest and hips together
- Use a comfortable range of motion
- Press evenly through both hands
- Perform each repetition under control
The goal is to perform controlled repetitions through a consistent range of motion rather than simply completing as many repetitions as possible.
Common Push-Ups Mistakes
Letting the Hips Sag
Problem: Allowing your hips to drop toward the floor causes you to lose your stable plank position and can increase unnecessary movement through your lower back.
Fix: Brace your core and engage your glutes to maintain a relatively straight line from your head to your heels.
Raising the Hips Too High
Problem: Pushing your hips upward changes your body angle and reduces the similarity to a standard Push-Up.
Fix: Keep your hips aligned with your torso and legs throughout the repetition.
Flaring the Elbows Excessively
Problem: Allowing your elbows to point directly sideways can create an awkward pressing position and may cause shoulder discomfort.
Fix: Allow your elbows to travel backward and outward at a comfortable angle rather than forcing them directly sideways.
Performing Partial Repetitions
Problem: Lowering only a few centimeters limits the range through which your pushing muscles work.
Fix: Lower your chest toward the floor through the deepest comfortable range you can control while maintaining proper alignment.
Leading With the Head
Problem: Reaching your head toward the floor creates the appearance of greater depth without actually lowering your chest properly.
Fix: Keep your head relatively neutral and guide your chest toward the floor.
Raising the Chest Before the Hips
Problem: Pressing your upper body upward while leaving your hips low causes your body alignment to break down.
Fix: Keep your core engaged and raise your chest and hips together as one controlled unit.
Performing Repetitions Too Quickly
Problem: Rushing through Push-Ups can encourage bouncing, shortened repetitions, and loss of body control.
Fix: Lower yourself deliberately and press upward smoothly. Use a controlled tempo that allows you to maintain proper technique.
Push-Up Progressions and Variations
Push-Ups can be modified to make the exercise easier or more challenging depending on your current strength and training goals.
Wall Push-Up
Wall Push-Ups reduce the amount of bodyweight supported by your upper body, making them useful for beginners.
How to Do Wall Push-Ups
- Stand facing a sturdy wall.
- Place your palms against the wall at approximately chest to shoulder height.
- Step your feet backward into a comfortable lean.
- Brace your core and maintain a straight body line.
- Bend your elbows and lower your chest toward the wall.
- Press through your palms until your arms extend.
- Repeat while maintaining controlled technique.
Incline Push-Up
Incline Push-Ups are performed with your hands on an elevated surface, reducing the difficulty compared with standard floor Push-Ups.
How to Do Incline Push-Ups
- Choose a sturdy elevated surface.
- Place your hands approximately shoulder-width apart.
- Walk your feet backward into an inclined plank.
- Brace your core and glutes.
- Lower your chest toward the elevated surface.
- Press through your hands until your arms extend.
- Repeat while maintaining your body alignment.
Knee Push-Up
Knee Push-Ups reduce the amount of bodyweight supported by your upper body by keeping your knees on the floor.
How to Do Knee Push-Ups
- Begin on your hands and knees.
- Position your hands approximately shoulder-width apart.
- Move your knees backward until your body forms a straight line from your head to your knees.
- Brace your core and keep your hips extended.
- Bend your elbows and lower your chest toward the floor.
- Press through your palms until your arms extend.
- Repeat without allowing your hips to sag.
Diamond Push-Up
Diamond Push-Ups use a closer hand position that increases the relative demand on the triceps.
How to Do Diamond Push-Ups
- Begin in a standard High Plank position.
- Position your hands close together beneath your chest.
- Allow your thumbs and index fingers to form a diamond or triangle if comfortable.
- Brace your core and maintain a straight body line.
- Bend your elbows while keeping them relatively close to your torso.
- Lower your chest toward your hands.
- Press through your palms until your arms extend.
Your fingers do not need to touch if doing so creates wrist discomfort.
Decline Push-Up
Decline Push-Ups increase the difficulty by elevating your feet above your hands, shifting more bodyweight toward your upper body.
How to Do Decline Push-Ups
- Choose a sturdy elevated surface for your feet.
- Place your hands on the floor approximately shoulder-width apart.
- Position your feet securely on the elevated surface.
- Brace your core and maintain a straight body line.
- Bend your elbows and lower your chest toward the floor.
- Press through your palms until your arms extend.
- Repeat while keeping your hips controlled.
Final Thoughts
Push-Ups are one of the most versatile bodyweight exercises for developing upper-body strength and muscular endurance.
They develop:
- Chest strength
- Triceps strength
- Shoulder strength
- Core stability
- Upper-body muscular endurance
- Pressing technique
- Full-body coordination
- Foundational calisthenics strength
The key to proper Push-Ups is maintaining a stable body position, lowering your chest through a controlled range, and pressing yourself upward without allowing your hips to sag or rise excessively.
If standard Push-Ups are too difficult, begin with Wall, Incline, or Knee Push-Ups. As your strength improves, progress toward standard Push-Ups and eventually more challenging variations.
Focus on consistent technique and gradual progression rather than rushing through repetitions. Learn more about Push Workouts here.
Essential Gear for Push-Ups
The right equipment can improve your push-up performance, reduce joint strain, and help you progress safely as your upper-body strength increases. Here are the essentials every warrior should consider.
- Push-Up Handles: Increase your range of motion, keep your wrists in a more neutral position, and make high-volume push-up training more comfortable while reducing wrist strain.
- Wrist Wraps: Provide extra wrist support and stability during high-repetition or weighted push-up sessions, helping reduce discomfort and improve confidence.
- Exercise Mat: Creates a stable, cushioned training surface that improves comfort for your hands and feet while protecting your joints during floor-based training.
- Resistance Bands: Perfect for assisted push-up progressions, mobility drills, and adding accommodating resistance to advanced push-up variations.
- Weighted Vest: An excellent way to increase resistance once standard push-ups become easy, allowing you to continue building strength, muscle, and endurance without changing the exercise itself.
Push-Up FAQ
Q1: How many Push-Ups should beginners do?
A practical starting point is around 5–10 controlled repetitions for 2–3 sets, provided you can maintain proper technique. If standard Push-Ups are too difficult, choose an easier variation that allows approximately 8–15 controlled repetitions.
Q2: How low should I go during Push-Ups?
Lower your chest toward the floor through the deepest comfortable range you can control. Your chest does not have to touch the floor if doing so causes discomfort or loss of proper body alignment.
Q3: Should my elbows stay close to my body during Push-Ups?
Your elbows should generally travel backward and outward at a comfortable angle. They do not need to remain tightly against your torso, but excessive sideways flaring should be avoided.
Q4: Can Push-Ups build muscle?
Yes. Push-Ups can help build muscle in the chest, shoulders, and triceps when performed with sufficient resistance, appropriate training volume, and progressive overload. As standard Push-Ups become easier, harder variations or added resistance can help maintain the training challenge.
Q5: How can I make Push-Ups harder?
You can perform slower repetitions, add pauses, use Decline Push-Ups, introduce Diamond or Archer Push-Ups, or add resistance with a Weighted Vest. Choose progressions that allow you to maintain controlled technique and a consistent range of motion.
Comments are closed.