
The Dead Hang is a fundamental bodyweight exercise performed by hanging from a Pull-Up Bar with your arms extended and your body suspended beneath you.
Although the movement looks simple, maintaining a secure grip and controlled hanging position challenges your hands and forearms while introducing you to the starting position used in many Pull-Up and calisthenics exercises.
Dead Hangs are particularly useful for beginners building their grip strength, developing hanging endurance, and preparing for exercises such as Pull-Ups, Chin-Ups, Scapular Pull-Ups, and Hanging Leg Raises.
What Is a Dead Hang?
A Dead Hang is an isometric bodyweight exercise in which you grip an overhead bar and suspend your body beneath it with your arms extended.
Unlike an Active Hang, where you deliberately engage your shoulder blades and pull your shoulders downward, a Dead Hang allows your shoulders to elevate naturally into a more passive hanging position.
However, a Dead Hang should still be controlled. You should not suddenly drop your full bodyweight into your shoulders or continue hanging after your grip begins to fail.
Dead Hangs are commonly used in:
- Calisthenics training
- Pull-Up preparation
- Grip-strength training
- Bodyweight workouts
- Climbing-related training
- Obstacle-course preparation
- Upper-body training
Dead Hangs can also create a stretching sensation through areas such as the lats and shoulders, but when trained as an exercise, their primary value includes developing grip strength, hanging endurance, and familiarity with supporting your bodyweight from a bar.
Benefits of Dead Hangs
Dead Hangs provide several useful benefits despite requiring very little equipment.
Benefits include:
- Builds grip strength
- Develops grip endurance
- Strengthens the hands and forearms isometrically
- Builds familiarity with hanging from a bar
- Prepares beginners for Pull-Up training
- Can improve hanging tolerance
- Provides a foundation for other hanging exercises
- Can create a stretch through the lats and upper body
- Requires minimal equipment
Dead Hangs are particularly useful because the exercise can be scaled easily. Beginners can use partial foot support, while stronger trainees can gradually increase their hanging duration or progress to more demanding variations.
Muscles Worked in Dead Hangs
Dead Hangs involve both actively working muscles and upper-body tissues placed in a lengthened position.
Primary Muscles
- Forearm Flexors
- Finger Flexors
- Hand and Grip Muscles
Secondary Muscles
- Latissimus Dorsi
- Trapezius
- Rotator Cuff Muscles
- Biceps Brachii
- Brachialis
- Brachioradialis
- Core Muscles
The exact level of muscular activity varies depending on how passive or active your shoulder position is.
Your hands and forearms must remain active throughout the exercise because they are responsible for maintaining your grip on the bar.
How to Do a Dead Hang (Step-by-Step)
Step 1: Choose a Secure Pull-Up Bar
Use a stable Pull-Up Bar that is properly installed and designed to support your bodyweight.
Before beginning, check that:
- The bar is secure
- The supporting structure is stable
- The bar is not visibly damaged
- Your hands can grip it securely
- You have sufficient space beneath you
- Your landing area is clear
Never hang from a structure if you are unsure whether it can safely support you.
Step 2: Grip the Bar
Reach overhead and grip the bar with your palms facing away from you.
Position your hands approximately shoulder-width apart or slightly wider.
Wrap your fingers and thumbs securely around the bar.
Keep your wrists in a comfortable position rather than excessively bending them around the bar.
Step 3: Transfer Your Bodyweight Gradually
If necessary, use a secure step or platform to reach the bar.
Begin transferring your weight into your hands gradually instead of jumping up and suddenly dropping into the hang.
Beginners can keep some weight through their feet until they become comfortable supporting more of their bodyweight.
Step 4: Hang Beneath the Bar
Lift your feet from the floor or platform and allow your body to hang beneath your hands.
Keep your:
- Arms extended
- Head neutral
- Grip secure
- Torso controlled
- Legs relatively still
- Breathing natural
Your knees can remain slightly bent if you need additional clearance from the floor.
Step 5: Establish the Dead Hang Position
Allow your shoulders to elevate naturally while keeping your elbows extended.
Do not deliberately pull your shoulder blades downward as you would during an Active Hang.
At the same time, remain controlled rather than suddenly collapsing into the bottom position.
Avoid:
- Excessive swinging
- Bending your elbows
- Shrugging and unshrugging repeatedly
- Kicking your legs
- Holding your breath
Maintain a comfortable and stable hanging position.
Step 6: Hold the Position
Remain in the Dead Hang for a duration appropriate for your current grip strength.
Beginners can start with approximately 10-20 seconds per set.
During the hold:
- Grip the bar securely
- Keep your arms extended
- Minimize swinging
- Breathe normally
- Monitor your grip
- Maintain shoulder comfort
End the set while you still have enough grip strength to safely control your dismount.
Step 7: Exit the Dead Hang Safely
Bring your feet back onto the floor or a stable platform whenever possible.
Gradually transfer your bodyweight away from your hands before releasing the bar.
Avoid deliberately hanging until your fingers unexpectedly lose their grip.
Rest before beginning your next set.
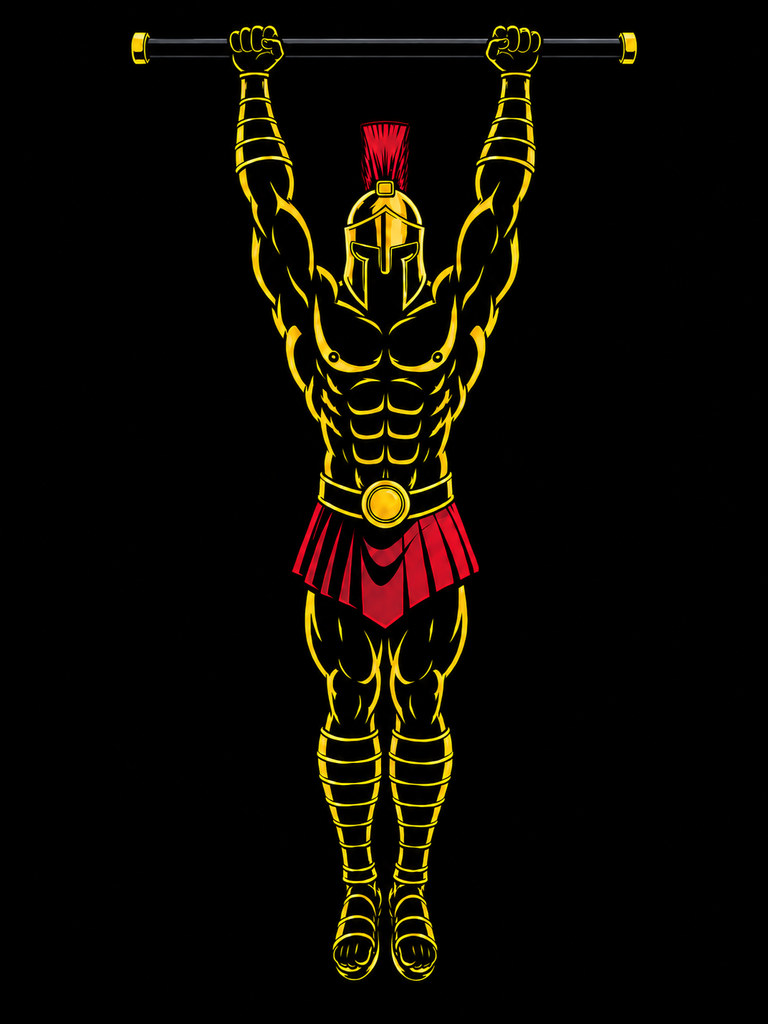
Dead Hang Form Checklist
Use this checklist to maintain proper Dead Hang technique.
- Use a secure Pull-Up Bar
- Check the bar before every session
- Grip approximately shoulder-width apart
- Wrap your fingers and thumbs securely around the bar
- Transfer your bodyweight gradually
- Keep your arms extended
- Maintain a neutral head position
- Allow your shoulders to elevate naturally
- Keep your body controlled
- Minimize swinging
- Avoid kicking your legs
- Breathe normally
- Maintain a secure grip
- Finish before uncontrolled grip failure
- Dismount safely
A good Dead Hang should look simple and controlled. You do not need to create movement while hanging from the bar.
Common Dead Hang Mistakes
Hanging Until Your Grip Completely Fails
Problem: Holding the bar until your hands unexpectedly release can result in an uncontrolled drop.
Fix: End each set while you can still maintain a secure grip and safely place your feet onto the floor or platform.
Swinging Excessively
Problem: Swinging your torso and legs wastes energy and makes the exercise harder to control.
Fix: Enter the hang gradually, keep your legs controlled, and avoid using unnecessary momentum.
Bending the Elbows
Problem: Flexing your elbows changes the position and increases the muscular demands on your elbow flexors.
Fix: Keep your arms extended throughout a standard Dead Hang.
Turning the Dead Hang Into an Active Hang
Problem: Actively depressing your shoulder blades and slightly raising your body changes the movement into an Active Hang.
Fix: Allow your shoulders to elevate naturally while keeping your arms straight and your body controlled.
Using an Excessively Wide Grip
Problem: An extremely wide grip can make the position less comfortable and may reduce your ability to maintain a secure grip.
Fix: Start around shoulder-width or slightly wider and adjust according to your proportions and comfort.
Jumping Into the Hang
Problem: Jumping for a high bar and suddenly loading your arms can create an unnecessarily abrupt transition into the hanging position.
Fix: Use a stable step or platform when needed and gradually transfer your weight onto the bar.
Ignoring Shoulder Pain
Problem: Continuing to hang through sharp, pinching, unstable, or unusual shoulder pain can make an unsuitable position worse.
Fix: Stop the exercise if you experience pain. Use partial foot support or another variation if appropriate. Persistent or worsening shoulder symptoms may require professional assessment.
Dead Hang Variations
Dead Hangs can be modified according to your strength, experience, and training goals.
Assisted Dead Hang
This beginner-friendly variation reduces the amount of bodyweight supported by your hands.
How to Do an Assisted Dead Hang
- Grip a secure Pull-Up Bar.
- Keep your feet on the floor or a stable platform.
- Gradually transfer part of your weight into your hands.
- Extend your arms.
- Maintain a comfortable shoulder position.
- Hold for the desired duration.
- Use your legs to control how much weight you support.
Active Hang
The Active Hang increases shoulder-girdle involvement and teaches scapular control.
How to Do an Active Hang
- Begin from a Dead Hang.
- Keep your elbows straight.
- Draw your shoulder blades downward.
- Allow your torso to rise slightly.
- Hold the position briefly.
- Slowly return to the Dead Hang.
- Repeat under control.
Neutral-Grip Dead Hang
Parallel handles allow your palms to face each other.
How to Do a Neutral-Grip Dead Hang
- Grip two secure parallel handles.
- Keep your palms facing each other.
- Transfer your bodyweight gradually.
- Extend your arms.
- Maintain a controlled hang.
- Hold for the desired duration.
- Dismount safely.
Towel Dead Hang
This advanced grip variation increases the challenge to your hands and forearms.
How to Do a Towel Dead Hang
- Securely loop a strong towel over a suitable Pull-Up Bar.
- Grip both sides of the towel firmly.
- Gradually transfer your bodyweight onto your hands.
- Hang with your arms extended.
- Keep your body controlled.
- Hold while your grip remains secure.
- Return your feet to a stable surface before releasing.
Only use a towel and setup that can safely support your full bodyweight.
Weighted Dead Hangs
An advanced progression.
How to Do Weighted Dead Hangs
- Wear a weighted vest or attach weight with a dip belt
- Perform a standard dead hang
- Maintain perfect form throughout
This variation develops elite grip endurance and pulling strength.
Single-Arm Assisted Dead Hang
This progression increases the load placed on one hand and arm while maintaining assistance from the opposite side.
How to Do a Single-Arm Assisted Dead Hang
- Grip the bar firmly with your working hand.
- Use your opposite hand for secure assistance.
- Gradually shift more weight toward the working arm.
- Keep your body controlled.
- Hold briefly.
- Gradually unload the working arm.
- Repeat on the opposite side.
Progress carefully because the load on the working arm is substantially greater than during a standard two-arm Dead Hang.
Final Thoughts
The Dead Hang is one of the simplest foundational exercises in calisthenics, but it can provide valuable training for your hands, forearms, and overall hanging ability.
It develops:
- Grip strength
- Grip endurance
- Forearm endurance
- Hanging control
- Overhead hanging tolerance
- Pull-Up preparation
You do not need to hang for several minutes or continue until your hands fail. Begin with short, controlled holds and gradually increase your total hanging time as your grip improves.
A secure bar, strong grip, extended arms, controlled body position, and safe dismount are the foundations of a proper Dead Hang. Learn more about Pull Workouts here.
Essential Gear for Dead Hangs
Using the right equipment can make dead hangs more comfortable, improve your grip training, and help you progress toward more advanced pulling exercises.
- Pull-Up Bar: The essential piece of equipment for performing dead hangs. Choose a sturdy doorway, wall-mounted, or freestanding pull-up bar that allows you to hang freely with full arm extension.
- Gym Chalk or Liquid Chalk: Helps keep your hands dry and improves grip, allowing you to hold the bar longer without slipping during extended hangs.
- Gymnastics Rings: Provide a more natural hand position than a fixed bar, reducing wrist strain while improving grip and shoulder stability.
- Resistance Bands: Useful for beginners who need assistance getting into a full dead hang or for gradually building grip confidence and shoulder tolerance.
- Weighted Vest or Dip Belt: Ideal for advanced athletes who have mastered bodyweight dead hangs and want to further develop grip strength, forearm endurance, and upper-body resilience.
Dead Hang FAQ
Q1: How long should beginners Dead Hang?
Beginners can start with approximately 10-20 second holds for a few controlled sets. Increase the duration gradually as your grip strength and hanging tolerance improve.
Q2: Are Dead Hangs good for improving Pull-Ups?
Dead Hangs can strengthen your grip and help you become comfortable supporting your bodyweight from a Pull-Up Bar. For more complete Pull-Up development, combine them with exercises such as Active Hangs, Scapular Pull-Ups, Australian Rows, and Assisted Pull-Ups.
Q3: What is the difference between a Dead Hang and an Active Hang?
A Dead Hang allows the shoulders to elevate naturally while the arms remain extended. An Active Hang keeps the elbows straight but deliberately engages the shoulder blades to draw the shoulders downward and slightly raise the body.