
Incline Push-Ups are a Push-Up variation performed with your hands on a stable elevated surface and your feet on the floor. Raising your upper body reduces the proportion of your bodyweight you have to press compared with a standard floor Push-Up.
This makes Incline Push-Ups an excellent progression between Wall Push-Ups and standard Push-Ups. They let beginners build chest, shoulder, triceps, and core strength while practicing the same basic body position and pressing pattern used in regular Push-Ups.
The height of the surface determines much of the difficulty. Higher surfaces generally make the exercise easier, while gradually lowering your hands increases the amount of bodyweight your upper body must handle.
What Are Incline Push-Ups?
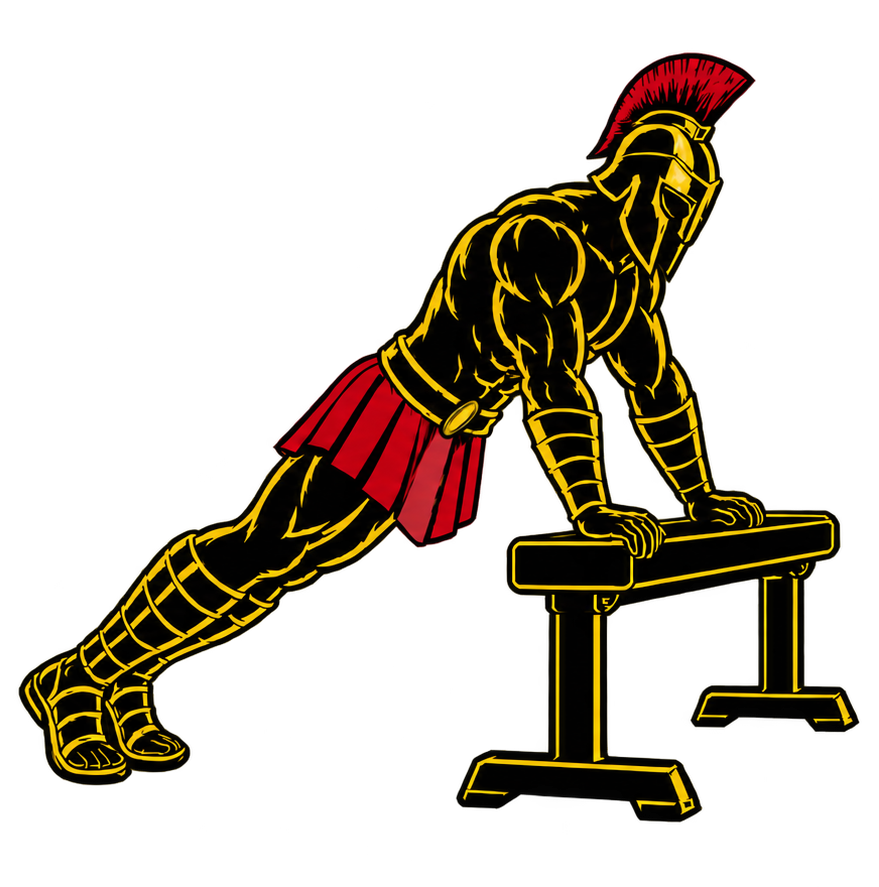
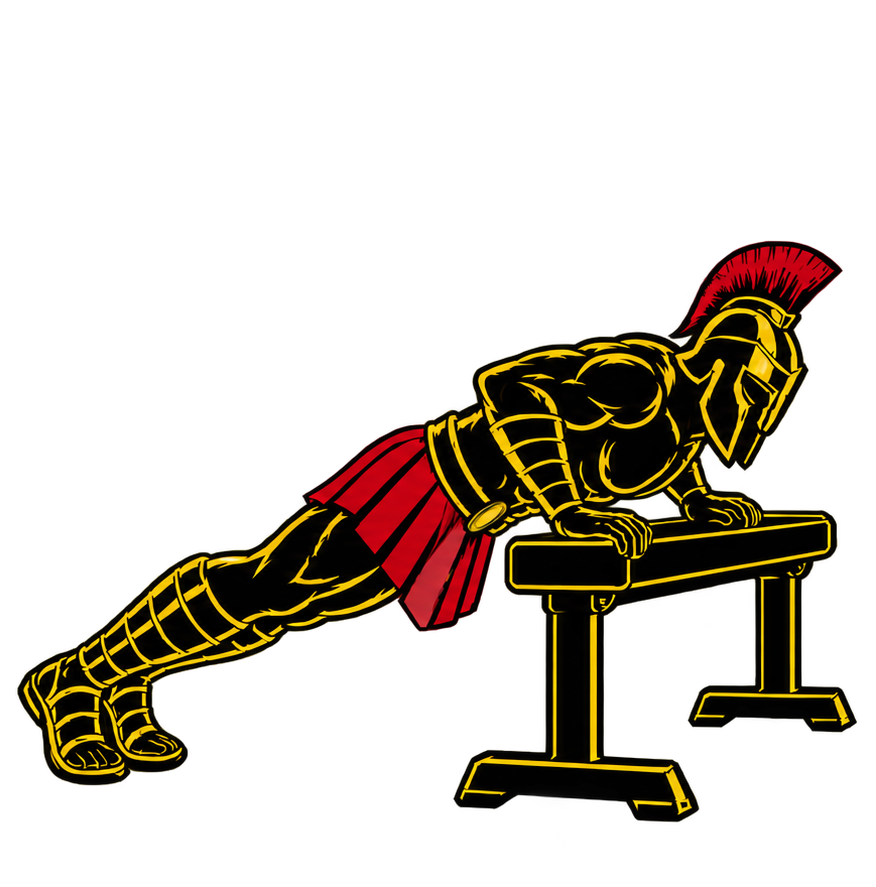
Incline Push-Ups are a bodyweight pressing exercise in which your hands are placed on a secure elevated surface such as a workout bench, sturdy box, or fixed bar.
From an inclined plank position, you bend your elbows and lower your chest toward the elevated surface. You then press through your hands until your arms return to extension.
Because your hands are higher than your feet, Incline Push-Ups are generally easier than standard floor Push-Ups.
Incline Push-Ups are commonly used in:
- Beginner strength training
- Push-Up progression programs
- Chest workouts
- Upper-body workouts
- Calisthenics training
- At-home workouts
- Warm-up routines
- High-repetition bodyweight training
They are particularly useful because their difficulty can be adjusted simply by changing the height of the surface.
Benefits of Incline Push-Ups
Incline Push-Ups provide an accessible way to develop pressing strength while practicing proper Push-Up mechanics.
Benefits include:
- Strengthens the chest
- Develops the triceps
- Strengthens the front of the shoulders
- Builds foundational pushing strength
- Reinforces proper Push-Up technique
- Develops core and body-position control
- Provides a progression toward standard Push-Ups
- Allows easy adjustment of exercise difficulty
- Requires minimal equipment
As you become stronger, gradually lowering the incline provides a simple form of progressive overload.
Muscles Worked in Incline Push-Ups
Incline Push-Ups primarily train the major upper-body pushing muscles while requiring your core and lower body to stabilize your position.
Primary Muscles
- Pectoralis Major
- Triceps Brachii
- Anterior Deltoids
Secondary Muscles
- Serratus Anterior
- Rotator Cuff Muscles
- Rectus Abdominis
- Obliques
- Gluteus Maximus
- Quadriceps
- Forearms
Although Incline Push-Ups are easier than standard Push-Ups at typical incline heights, the exact muscular demands change somewhat with the height of the surface and your body position.
How to Do Incline Push-Ups (Step-by-Step)
Step 1: Choose a Stable Elevated Surface
Select a sturdy elevated surface that will not move when you press against it.
Suitable options can include:
- Workout bench
- Secure box
- Fixed horizontal bar
- Sturdy countertop
- Stable railing designed to support your weight
Avoid lightweight furniture or anything that could slide, tip, collapse, or move unexpectedly.
Step 2: Position Your Hands
Place both hands on the elevated surface approximately shoulder-width apart or slightly wider.
Keep your fingers comfortably spread and establish firm contact with the surface.
Your hands should be positioned symmetrically.
Step 3: Walk Your Feet Back
Step backward until your arms are extended and your body forms an inclined plank.
Keep your feet securely planted on the floor.
The farther your body extends behind the surface, the more important it becomes to maintain full-body tension.
Step 4: Establish Your Body Position
Create a relatively straight line from your head through your shoulders, hips, knees, and ankles.
Keep your:
- Core braced
- Glutes engaged
- Legs controlled
- Head relatively neutral
- Shoulders stable
- Hands firmly planted
Avoid allowing your hips to sag or rise excessively.
Step 5: Lower Your Chest
Bend your elbows and lower your body toward the elevated surface.
Allow your elbows to travel backward and outward at a comfortable angle rather than flaring directly sideways.
Keep your entire body moving together instead of dropping only your chest.
Step 6: Reach the Bottom Position
Lower until your chest approaches or lightly reaches the surface, provided you can maintain good alignment and a comfortable range of motion.
Keep your:
- Core engaged
- Hips controlled
- Head neutral
- Shoulders stable
- Feet planted
Do not force additional depth if it causes discomfort or loss of position.
Step 7: Press Back Up
Push firmly through your hands and extend your elbows.
Keep your torso and hips moving together as you return to the starting position.
Finish with your arms extended and body controlled before beginning the next repetition.
Incline Push-Ups Form Checklist
Use this checklist to maintain proper Incline Push-Up technique.
- Use a sturdy and stable elevated surface
- Keep your hands approximately shoulder-width or slightly wider
- Keep your feet securely planted
- Maintain a straight body line
- Brace your core
- Engage your glutes
- Keep your head relatively neutral
- Keep your shoulders controlled
- Avoid excessive elbow flare
- Lower your chest toward the surface
- Keep your hips from sagging
- Avoid raising your hips excessively
- Press evenly through both hands
- Extend your arms under control
- Use a controlled range of motion
If you cannot maintain these positions, use a higher surface until your strength and technique improve.
Common Incline Push-Ups Mistakes
Using an Unstable Surface
Problem: A bench, box, table, or other surface that slides or tips can make the exercise unsafe.
Fix: Use a solid, stationary surface that can comfortably support the forces produced during the exercise.
Letting the Hips Sag
Problem: Allowing your hips to drop creates excessive movement through your trunk and causes you to lose your plank position.
Fix: Brace your core and squeeze your glutes to maintain a relatively straight body line.
Raising the Hips Too High
Problem: Pushing your hips upward changes the body angle and can reduce the intended pressing demand.
Fix: Keep your hips aligned with your torso and legs throughout the repetition.
Flaring the Elbows Excessively
Problem: Allowing your elbows to point directly outward can create an awkward pressing position.
Fix: Let your elbows travel backward and outward at a comfortable angle rather than forcing them directly sideways.
Performing Partial Repetitions
Problem: Lowering only a few centimeters limits the range through which your muscles work.
Fix: Lower your chest toward the elevated surface through the deepest comfortable range you can control.
Leading With the Head
Problem: Reaching your head toward the surface can create the appearance of greater depth without actually lowering your torso properly.
Fix: Keep your head relatively neutral and guide your chest toward the surface.
Using an Incline That Is Too Low
Problem: A very low surface may make the exercise too difficult, causing your hips to sag or your repetitions to become partial.
Fix: Use a higher surface and gradually lower the incline as your strength improves.
Incline Push-Up Progressions and Variations
Incline Push-Ups can be modified according to your current strength and used as part of a gradual progression toward harder Push-Up variations.
High Incline Push-Up
A higher hand position reduces the amount of bodyweight your upper body must press.
How to Do High Incline Push-Ups
- Choose a sturdy surface around waist height or higher.
- Place your hands approximately shoulder-width apart.
- Walk your feet backward into an inclined plank.
- Brace your core and glutes.
- Lower your chest toward the surface.
- Press through your hands until your arms extend.
- Repeat while maintaining your body alignment.
Low Incline Push-Up
Lowering your hands closer to the floor increases the difficulty and moves you closer to a standard Push-Up.
How to Do Low Incline Push-Ups
- Choose a low, sturdy elevated surface.
- Place your hands securely on the surface.
- Walk your feet backward into a straight body position.
- Brace your core and glutes.
- Lower your chest toward the surface.
- Press yourself back to arm extension.
- Maintain controlled technique throughout the set.
Incline Close-Grip Push-Up
Bringing your hands closer together changes the pressing position and can increase the relative demand on the triceps.
How to Do Incline Close-Grip Push-Ups
- Place your hands closer than shoulder-width on a stable surface.
- Step your feet backward into an inclined plank.
- Brace your core and maintain body alignment.
- Bend your elbows while keeping them relatively close to your torso.
- Lower your chest toward your hands.
- Press through your palms to extend your arms.
- Repeat without allowing your hips to sag.
Incline Wide-Grip Push-Up
A moderately wider hand position provides another way to vary your Incline Push-Up training.
How to Do Incline Wide-Grip Push-Ups
- Place your hands moderately wider than shoulder-width.
- Establish a secure inclined plank position.
- Brace your core and glutes.
- Lower your chest toward the surface.
- Keep your elbows at a comfortable angle.
- Press evenly through both hands.
- Return to the starting position under control.
Avoid making the grip excessively wide.
Slow-Tempo Incline Push-Up
Slowing the repetition increases time under tension and encourages greater movement control.
How to Do Slow-Tempo Incline Push-Ups
- Set up on a stable elevated surface.
- Establish a strong inclined plank.
- Lower yourself slowly for several seconds.
- Reach your deepest controlled position.
- Pause briefly near the bottom.
- Press yourself upward smoothly.
- Repeat while maintaining the same tempo.
Final Thoughts
Incline Push-Ups are one of the most useful Push-Up progressions for building the strength and technique needed for standard floor Push-Ups.
They develop:
- Chest strength
- Triceps strength
- Shoulder strength
- Core stability
- Pressing strength
- Body-position control
- Push-Up technique
- Foundational calisthenics strength
The biggest advantage of Incline Push-Ups is their adjustability. Instead of jumping from an easy variation directly to a difficult one, you can progressively lower your hand position as your strength improves.
Begin with a surface that allows clean repetitions. Once that height becomes consistently easy, move to a slightly lower surface. Continue this process until you can transition confidently toward standard Push-Ups. Learn more about Push Workouts here.
Essential Gear for Incline Push-Ups
Incline Push-Ups require only a stable elevated surface, although a few pieces of equipment can provide useful training options.
- Workout Bench: Provides a convenient elevated surface for standard or lower Incline Push-Ups.
- Plyometric Box: Different box heights can help you progressively adjust the difficulty of the exercise.
- Push-Up Handles: Can provide an alternative wrist position when placed securely on a sufficiently large, stable elevated surface.
- Resistance Band: Can be positioned appropriately to add resistance once standard Incline Push-Ups become easy.
Whatever surface you use, stability is more important than the specific piece of equipment.
Incline Push-Ups FAQ
Q1: Are Incline Push-Ups good for beginners?
Yes. Incline Push-Ups are highly adjustable and generally easier than standard floor Push-Ups, making them useful for beginners developing their pressing strength and technique.
Q2: How high should the surface be for Incline Push-Ups?
There is no single ideal height. Use a surface high enough that you can perform controlled repetitions with good alignment. As you become stronger, gradually use lower surfaces.
Q3: How many Incline Push-Ups should beginners do?
A practical starting point is around 8–15 controlled repetitions for 2–3 sets. Adjust the incline and repetitions according to your strength and ability to maintain proper form.
Q4: When should I progress from Incline Push-Ups to regular Push-Ups?
Once you can perform clean repetitions on a low incline without sagging, shortening the range of motion, or losing control, begin practicing standard Push-Ups. You can continue using Incline Push-Ups for additional training volume.
Q5: How can I make Incline Push-Ups harder?
Gradually lower the height of your hands, slow the lowering phase, add pauses, increase your controlled repetitions, or eventually add resistance. Lowering the incline is particularly useful because it progressively moves the exercise toward a standard floor Push-Up.